T
The Nothing
I really wanted to build a fiberglass rod. 8' 4 or 5wt. Building on a budget, though, I was unsure if I'd be able to build it on glass. I barely even flyfish, so if the wife knew I threw down over a bill on a blank, she'd probably not be too happy. I shopped around on the Anglers Workshop website a bit, and made a few mental selections. One day I made the drive up to Anglers Workshop, but since they're next door, I went into Lamiglas first.
I'm so glad I did. In the closeout bin there was a 8' 5wt (FL965-2) for $45. Perfect! It's straight, and still carries the warranty.
I made the walk across the parking lot to Anglers Workshop, picked up an appropriate sized tiptop (i knew the kit one was too small) and a reamer for the handle.
What I didn't realize, was that, clearly, the parts from a rod building kit i happened to have was made to go with a graphite rod, and probably a light 3wt. The guides are probably OK, but the winding checks included were tiny. The handle is smaller than I thought. And the reel seat was almost the same diameter as the .490" butt of the Lamiglas 5wt. Fortunately I made a good pick on the reamer, and while the wood is now pretty thin, the reel seat does fit. I went heavy on the epoxy, mostly to reduce the chance of the wood splitting - its only a couple millimeters thick. I was also able to get the largest of the winding checks heated up a bit and got it to slide down into place as well.
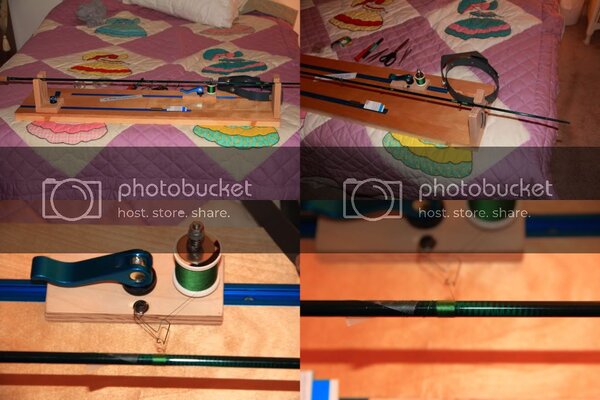
That's where I'm started. I spined it fine, and working out the guide spacing. I fish 95% of the time from my kayak, and went with the oversized striping guide because of that. I almost went with an oversized tip too... Just think of throwing flies while you're sitting on the ground, and that's what kayak fishing is like.
Anyways... here are a few pics of how things were looking after the first night..
top and bottom all glued up and dried after an overnight
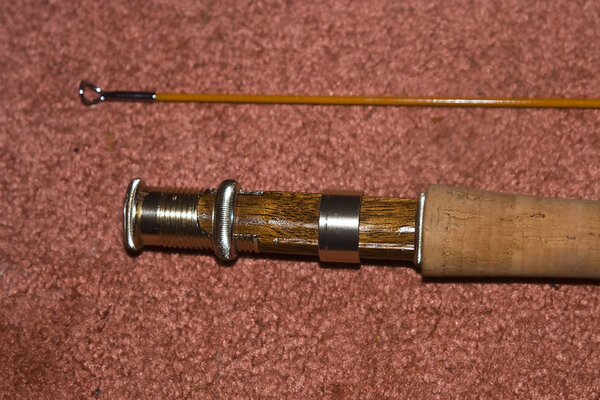
guides taped
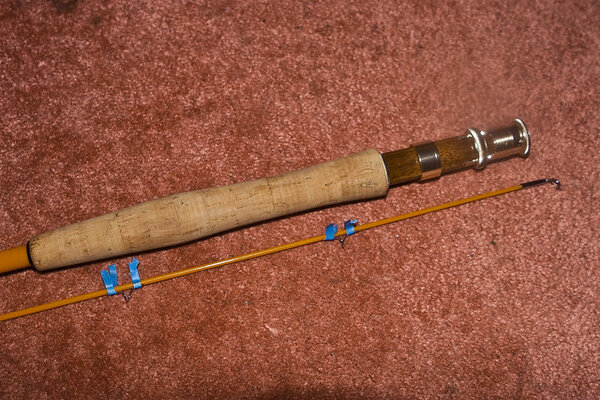
concern
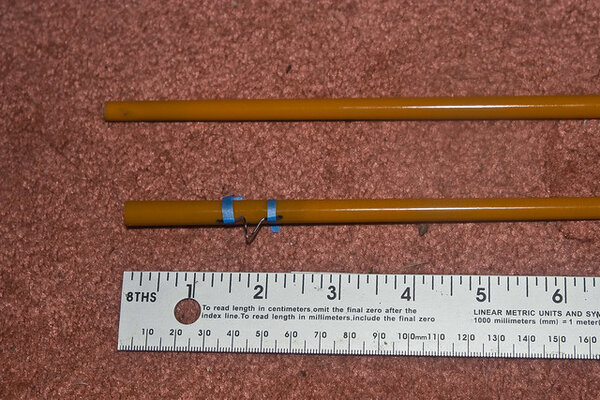
This spacing was a bit of a concern. I didn't want to stress the ferrule unnecessarily and cause failure Since it's a tip-over, I thought I'd start the wrap in the section a bit further ahead than normal (where the dark reinforcement can be seen) and then continue it all the way past the guide to the end. I'm also thinking I could lay some wraps between the feet as well. I've seen plenty of commercially built rods that have placed guides even closer to the ferrule, so I guess i should be fine
Lamiglass doesn't publish "suggested" guide spacing for their blanks. They only publish the spacing for the rods they build. Since they only sell blanks of the fiberglass fly rods, they don't have anything to suggest for spacing
That said, my spacing is:
mm 120 240 365 495 655 815 1000 1200 1425 1680
inch 4.7 9.4 14.4 19.5 25.75 32 39.4 47.25 56 66
I had thought about spreading things out a bit more, and reducing the guide count by 1, but after swinging it a bit, I feel pretty happy with things like this. I'll be wrapping in red.
1 week later:
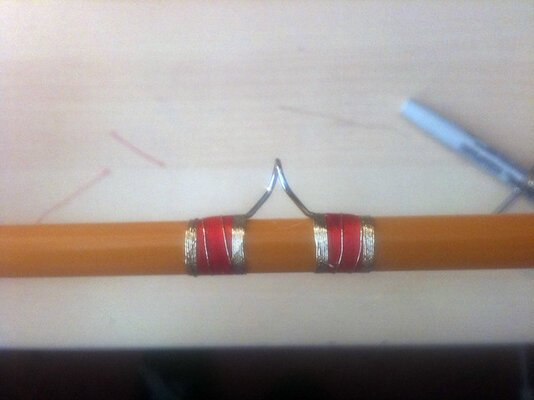
Finally got around to putting some wraps on the rod. This was the first guide I put together, followed by the stripping guide making the butt half complete. I've finished wrapping the top with the red, and its time to move on to the gold. So far things are halfway decent.
She's drying the last coat of epoxy right now...
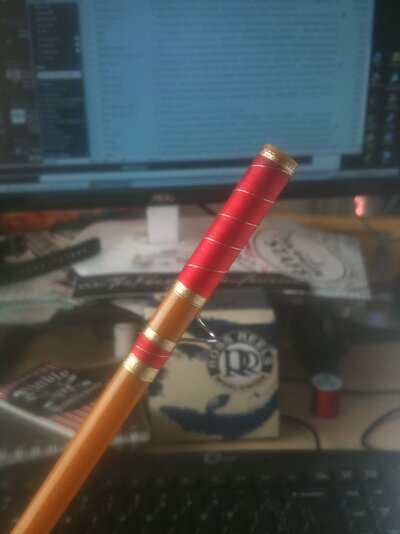
The Ferrule was some work. that's a lot of thread for someone hand turning the rod. I kept things nice and tight but needed to do quite a bit of burnishing to get things lined up - that was actually the story of the build...
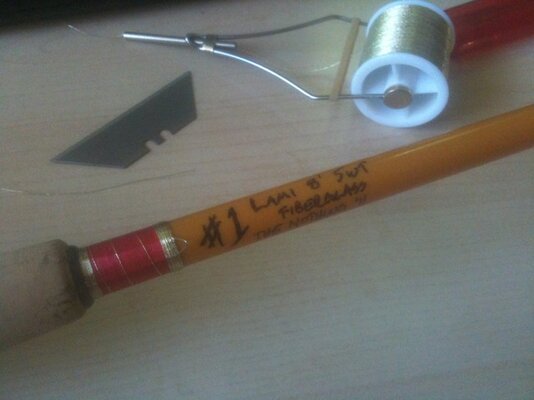
I ended up erasing all of this, but went with the same look. I hit it with a bit of 220grit and wrote things out with a super-fine hawks quill pen and archival acrylic ink. It looks great under the gloss too...
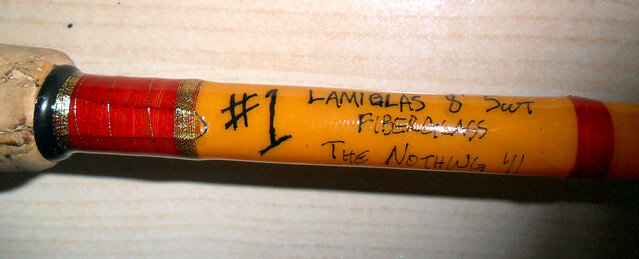
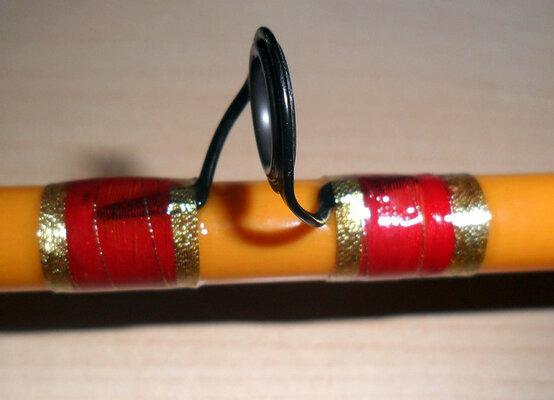
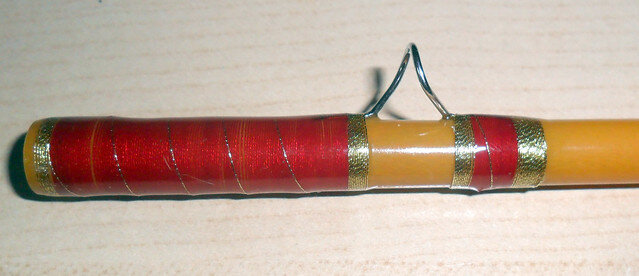
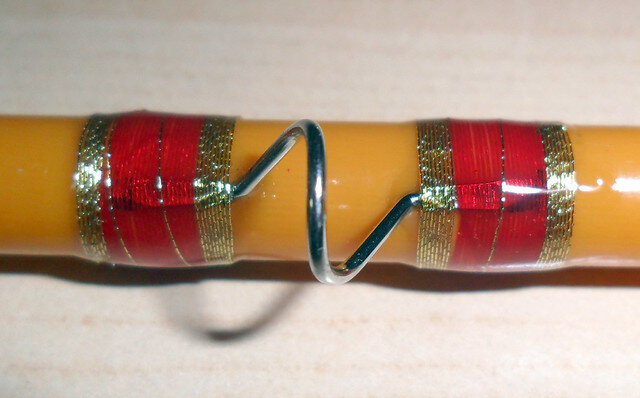
In the end, it's a great rod, and I have a lot of fun with it. The guide spacing, however, is off - mostly in regards to the stripping guide. If I were to do it all over again, I'd move it up another 4 inches.
I'm so glad I did. In the closeout bin there was a 8' 5wt (FL965-2) for $45. Perfect! It's straight, and still carries the warranty.
I made the walk across the parking lot to Anglers Workshop, picked up an appropriate sized tiptop (i knew the kit one was too small) and a reamer for the handle.
What I didn't realize, was that, clearly, the parts from a rod building kit i happened to have was made to go with a graphite rod, and probably a light 3wt. The guides are probably OK, but the winding checks included were tiny. The handle is smaller than I thought. And the reel seat was almost the same diameter as the .490" butt of the Lamiglas 5wt. Fortunately I made a good pick on the reamer, and while the wood is now pretty thin, the reel seat does fit. I went heavy on the epoxy, mostly to reduce the chance of the wood splitting - its only a couple millimeters thick. I was also able to get the largest of the winding checks heated up a bit and got it to slide down into place as well.
That's where I'm started. I spined it fine, and working out the guide spacing. I fish 95% of the time from my kayak, and went with the oversized striping guide because of that. I almost went with an oversized tip too... Just think of throwing flies while you're sitting on the ground, and that's what kayak fishing is like.
Anyways... here are a few pics of how things were looking after the first night..
top and bottom all glued up and dried after an overnight

guides taped

concern

This spacing was a bit of a concern. I didn't want to stress the ferrule unnecessarily and cause failure Since it's a tip-over, I thought I'd start the wrap in the section a bit further ahead than normal (where the dark reinforcement can be seen) and then continue it all the way past the guide to the end. I'm also thinking I could lay some wraps between the feet as well. I've seen plenty of commercially built rods that have placed guides even closer to the ferrule, so I guess i should be fine
Lamiglass doesn't publish "suggested" guide spacing for their blanks. They only publish the spacing for the rods they build. Since they only sell blanks of the fiberglass fly rods, they don't have anything to suggest for spacing
That said, my spacing is:
mm 120 240 365 495 655 815 1000 1200 1425 1680
inch 4.7 9.4 14.4 19.5 25.75 32 39.4 47.25 56 66
I had thought about spreading things out a bit more, and reducing the guide count by 1, but after swinging it a bit, I feel pretty happy with things like this. I'll be wrapping in red.
1 week later:

Finally got around to putting some wraps on the rod. This was the first guide I put together, followed by the stripping guide making the butt half complete. I've finished wrapping the top with the red, and its time to move on to the gold. So far things are halfway decent.
She's drying the last coat of epoxy right now...

The Ferrule was some work. that's a lot of thread for someone hand turning the rod. I kept things nice and tight but needed to do quite a bit of burnishing to get things lined up - that was actually the story of the build...

I ended up erasing all of this, but went with the same look. I hit it with a bit of 220grit and wrote things out with a super-fine hawks quill pen and archival acrylic ink. It looks great under the gloss too...


In the end, it's a great rod, and I have a lot of fun with it. The guide spacing, however, is off - mostly in regards to the stripping guide. If I were to do it all over again, I'd move it up another 4 inches.
